There was a good sale a while back on cereal, but we had a good stockpile at home, so I used the sale to get a few brands and varieties that I could use to make no-bake goodies either in recipe testing or creating my own recipes. Today I want to share the success I had with one such recipe as we are getting into the start of Summer 2025 here in the USA. I tried the recipe with two different types of setting and storage containers so those instructions are labeled "a" and "b" options.
Note: The Chocolate Cult is not a cooking blog or a recipe collection. Our focus is chocolate.
Yummy Graham Cereal Bars
By TammyJo Eckhart
Ingredients:
1 C Semi-Sweet Chocolate Baking Chips
1 C Butterscotch Baking Chips
1/2 C Lite Corn Syrup
2/3 C Creamy Peanut Butter
4 T Butter
Pinch of salt
6 C graham cracker cereal (I used Golden Grahams this time)
Instructions:
1a. Line a 13 X 9 X 2 inch baking pan with parchment paper, letting the paper stick up beyond the pan. You'll use it to help lift out the treats for the initial cutting of them.
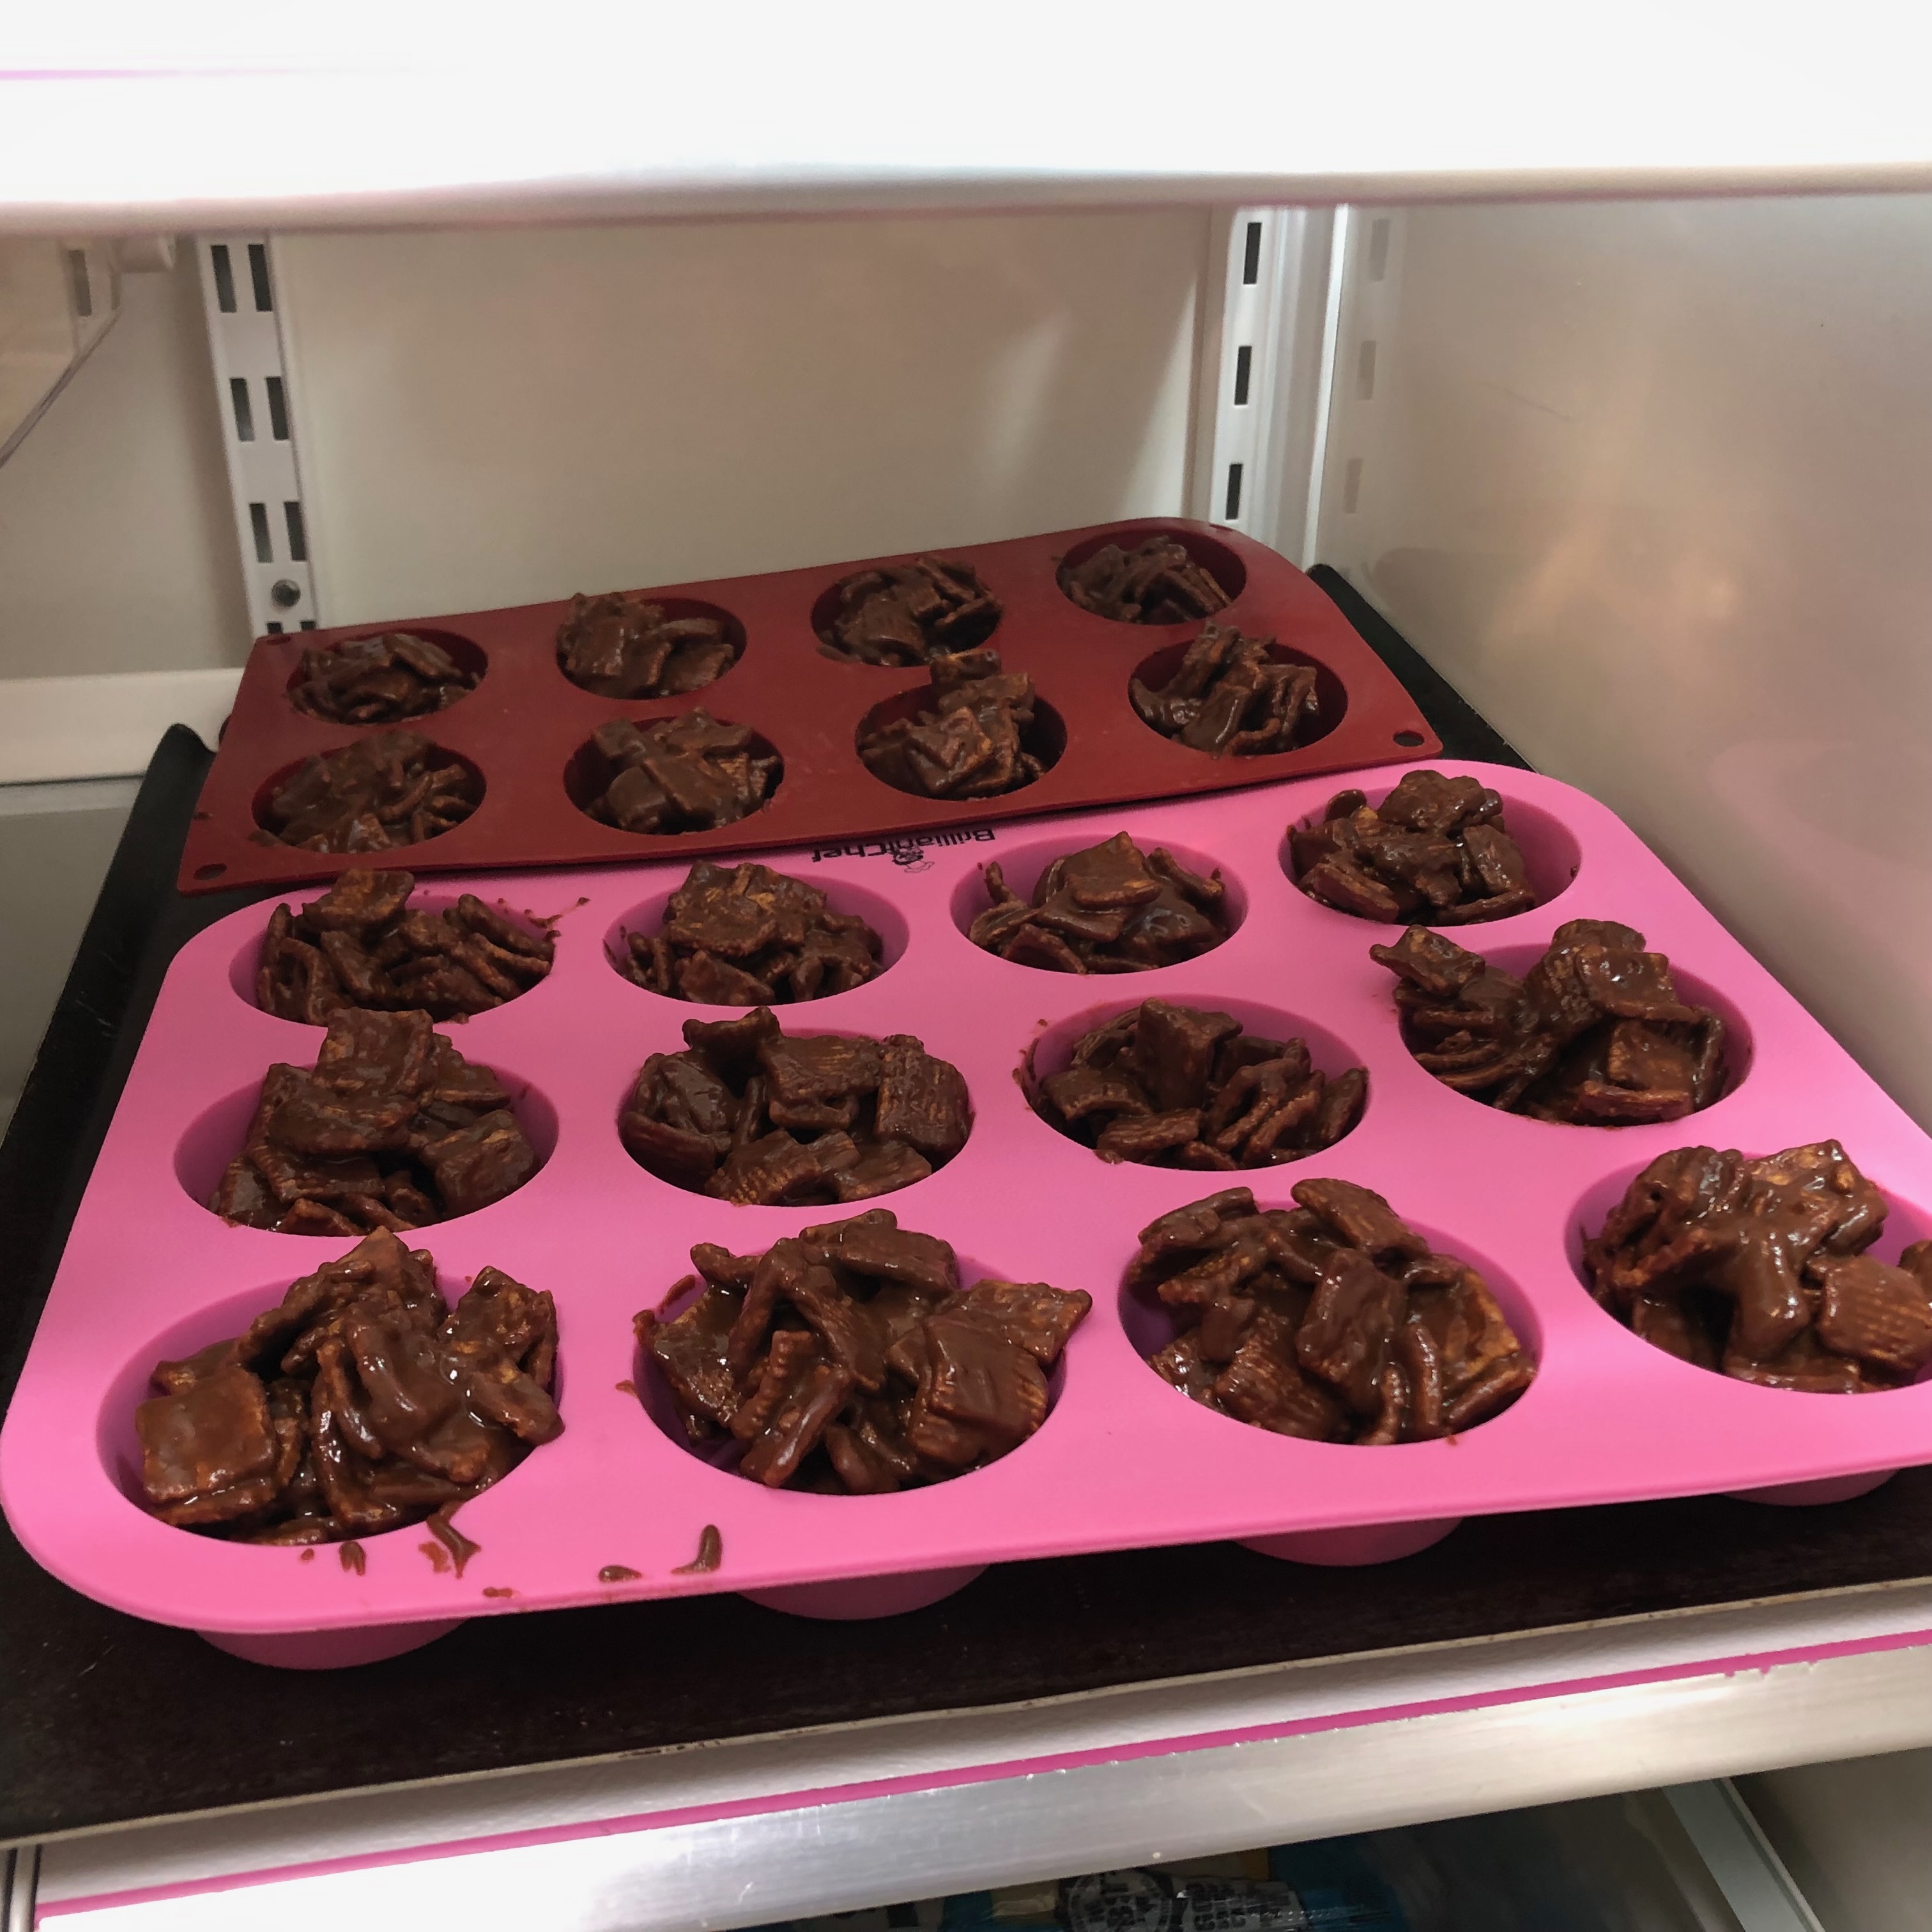
1b. Lightly butter silicone muffin cups or place liners in muffin tin, you'll want 18-24 cups depending on the size you want. This alerreat idea if you find cutting through anything to be a challenge or you want to have great control over the size of your portions.
2. In a large, non-stick sauce pot, over medium-low heat, melt corn syrup, peanut butter, and butter, blending them together until smooth.
3. Add in baking chips and salt. Melt and blend until smooth. Turn down the heat but leave it over to help keep mixture melted.
4. Add in the cereal a bit at a time, about a cup or so worked well, and stir until ever cracker is covered with the liquid. Turn off the heat and remove pot.

5a. Pour or spoon the mixture into the parchment covered pan. Smooth down the mixture so that it is spread evenly.
5b. Pour or spoon the mixture into the muffin cups, trying to keep them as evenly filled as you can.
6. Place the uncovered pan into the refrigerator to set and cool.
7. After about 1 hour, remove pan from the refrigerator. Using the parchment paper, lift the set treats and turn them out over a cutting board. If the treats are not firm enough to cut, place them back into the frig for another 15 minutes and then check again.
8. Cut the set and cooled mixture into however many pieces you want. I cut ours into 24 pieces. Serve some immediately and then place the remaining pieces back in to the baking pan minus the parchment paper. Try to get some room between the pieces so that they do not merge together again.
9. Store covered in refrigerator between consuming. You may wish to set them out 5 minutes before eating so they are easier to remove from the pan and easier to chew.
Enjoy!
If you try this recipe, let me know how it worked for you in a comment.
Comments
Post a Comment
Do NOT leave a url link in your comments. Leaving such links will result in deletion of your comment. If you have a product you would like featured on The Chocolate Cult contact us and we will tell you how. We charge nothing beyond the product to be tested and written about.
Comments containing insults to other commenters, to companies or brands, or which attempt to insult or denigrate any group of people may be removed by the website editor. Think about how you would like to be treated and treat everyone with respect on The Chocolate Cult.